如何自定义Tween
本文是Flutter动画系列的第十五篇,建议读者阅读前面的教程,做到无缝衔接。
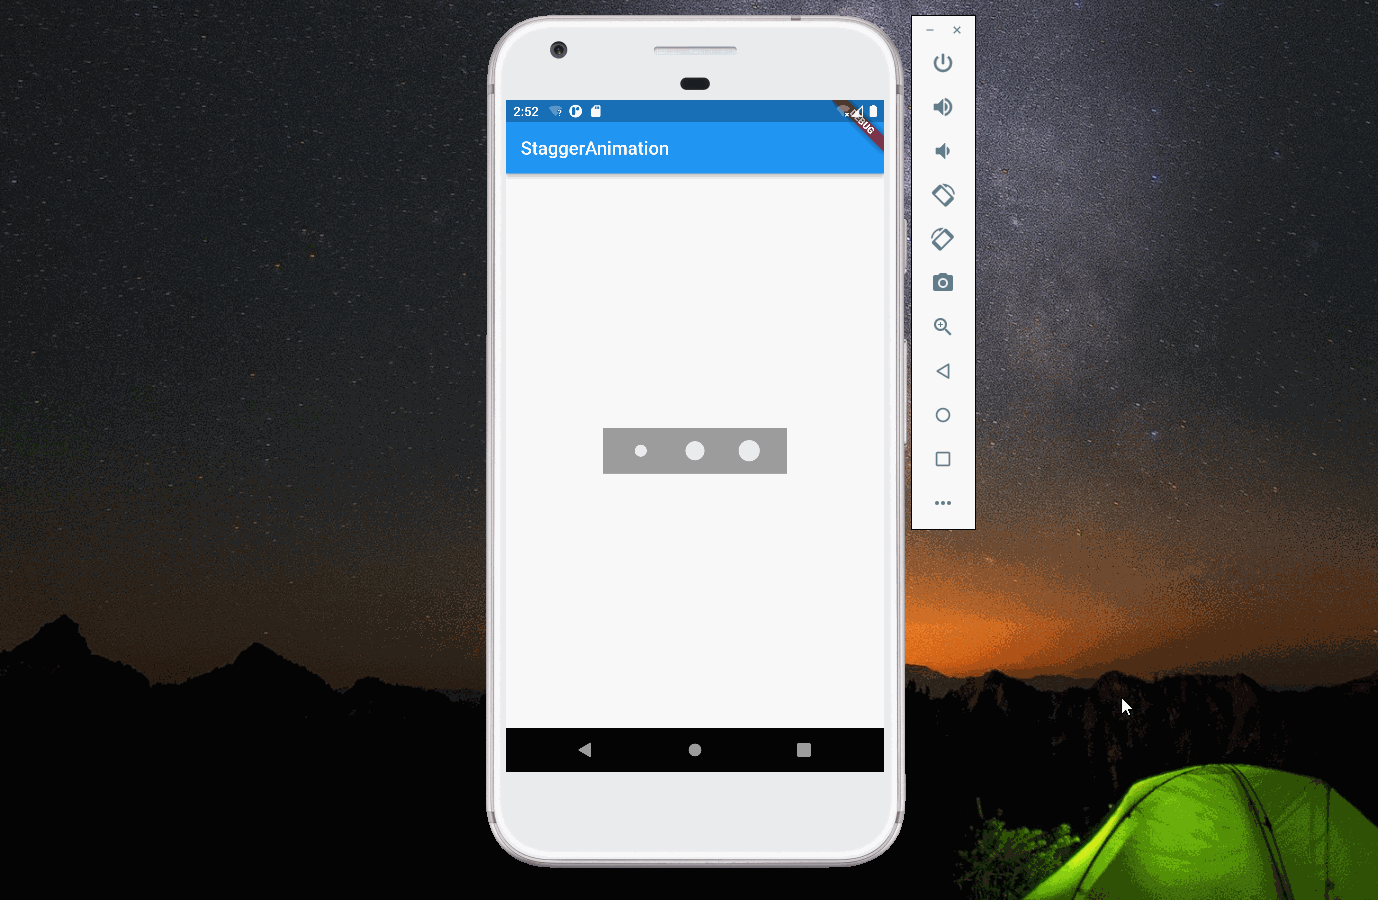
Tween 是 flutter 动画里非常重要的组件,它被用来修改 AnimationController,常见的有Animation<double>、ColorTween、CurveTween等。本文将介绍如何使用自定义 Tween 实现下面动画。
1. Tween原理
在介绍自定义 Tween 前,先介绍 AnimationController 和 Tween 是如何工作的。AnimationController 继承了 Animation<double> ,同时它有很多控制动画执行的方法。它能在用户指定的时间( duration ),每隔固定的间隔(硬件的刷新频率)线性的产生[0,1]之间的数。
Tween 一般通过调用 animate 方法来修改 AnimationController。animate 方法返回一个 _AnimatedEvaluation 对象,这个对象的 value 属性最终会调用 Tween 的 transform 方法,参数为 AnimationController 的 value 值。 transform 经过简单处理后,会调用 lerp 方法,lerp 方法里,核心的计算逻辑如下,当 t 为0时,结果为 begin ;当 t 为1时,结果为 end 。
result = (begin as dynamic) + ((end as dynamic) - (begin as dynamic)) * t;
Tween 支持链式操作,通过 chain 方法实现多个 Tween 连接,最终作用于 AnimationController (实际上只要是 Animation 就可以)。
自定义 Tween 可以通过覆盖 transform 或者 lerp 方法来实现我们想要的动画效果。
2. 动画分析
本文动画的几个特点:
- 动画在不停重复,从效果看,动画结束后重新开始过渡自然,所以需要将0和1映射成相同值。
- 后面一个圆圈和前面一个圆圈变化趋势一样,只是慢了半拍。
- 综合以上,使用周期为1(这样0和1值相同)的三角函数 sinx 即可满足需求。
3. 完整代码
从代码可以看到,TestTween定义了延迟参数(相当于将 sinx 像左进行平移),这样就能实现后面圆慢半拍的效果。
import 'dart:math';

import 'package:flutter/material.dart';

void main(List<String> args) {
  runApp(const MyApp());
}

class MyApp extends StatelessWidget {
  const MyApp({Key? key}) : super(key: key);

  @override
  Widget build(BuildContext context) {
    return const MaterialApp(
      title: "my-app",
      home: HomePage(),
    );
  }
}

class HomePage extends StatelessWidget {
  const HomePage({Key? key}) : super(key: key);

  @override
  Widget build(BuildContext context) {
    return Scaffold(
      appBar: AppBar(title: const Text("StaggerAnimation")),
      body: const Center(child: CircleLoader()),
    );
  }
}

class CircleLoader extends StatefulWidget {
  const CircleLoader({Key? key}) : super(key: key);

  @override
  _CircleLoaderState createState() => _CircleLoaderState();
}

class _CircleLoaderState extends State<CircleLoader>
    with SingleTickerProviderStateMixin {
  late AnimationController _controller;

  @override
  initState() {
    super.initState();
    _controller = AnimationController(
      vsync: this,
      duration: const Duration(seconds: 2),
    )..repeat();
  }

  @override
  dispose() {
    _controller.dispose();
    super.dispose();
  }

  buildCircle(double delay) {
    return ScaleTransition(
      scale: TestTween(begin: .85, end: 1.5, delay: delay).animate(_controller),
      child: Padding(
        padding: const EdgeInsets.all(8.0),
        child: Container(
          height: 20.0,
          width: 20.0,
          decoration: BoxDecoration(
            shape: BoxShape.circle,
            color: Colors.grey[300],
          ),
        ),
      ),
    );
  }

  @override
  Widget build(BuildContext context) {
    return Center(
      child: Container(
        width: 200.0,
        height: 50.0,
        color: Colors.grey,
        child: Row(
          mainAxisAlignment: MainAxisAlignment.spaceEvenly,
          children: <Widget>[
            buildCircle(.0),
            buildCircle(.2),
            buildCircle(.4),
          ],
        ),
      ),
    );
  }
}

class TestTween extends Tween<double> {
  final double delay;

  TestTween({required double begin, required double end, required this.delay})
      : super(begin: begin, end: end);

  @override
  double lerp(double t) {
    return super.lerp((sin((t - delay) * 2 * pi) + 1) / 2);
  }
}
4. 总结
除了自定义 Tween,还可以通过自定义 curve 来实现上述动画,感兴趣的读者可以进行尝试。