AnimationController使用教程
本文是Flutter动画系列的第三篇,建议读者阅读前面的教程,做到无缝衔接。
除了动画组件,flutter 还提供了灵活性更强的类:AnimationControler,本文介绍AnimationControler的使用。
1. flutter里的动画
在介绍AnimationControler前,让我们回想一下 flutter 里动画是如何实现的。假设 ui 从状态 A 切换到状态 B,首先需要一个定时器,它每隔固定的时间会触发一次,同时有一个计算函数(curve),计算 A 到 B 的某个中间态。当定时器触发时,重新计算一次 ui 的状态并渲染,这样人眼就看到一帧一帧的动画了。
2. AnimationControler
AnimationControler能在指定的时间里,每隔固定的时间生成[0.0,1.0]之间的数。下面代码初始化一个AnimationControler,其中duration参数指定动画的时间,vsync指定定时器。
controller =
    AnimationController(duration: const Duration(seconds: 2), vsync: this);
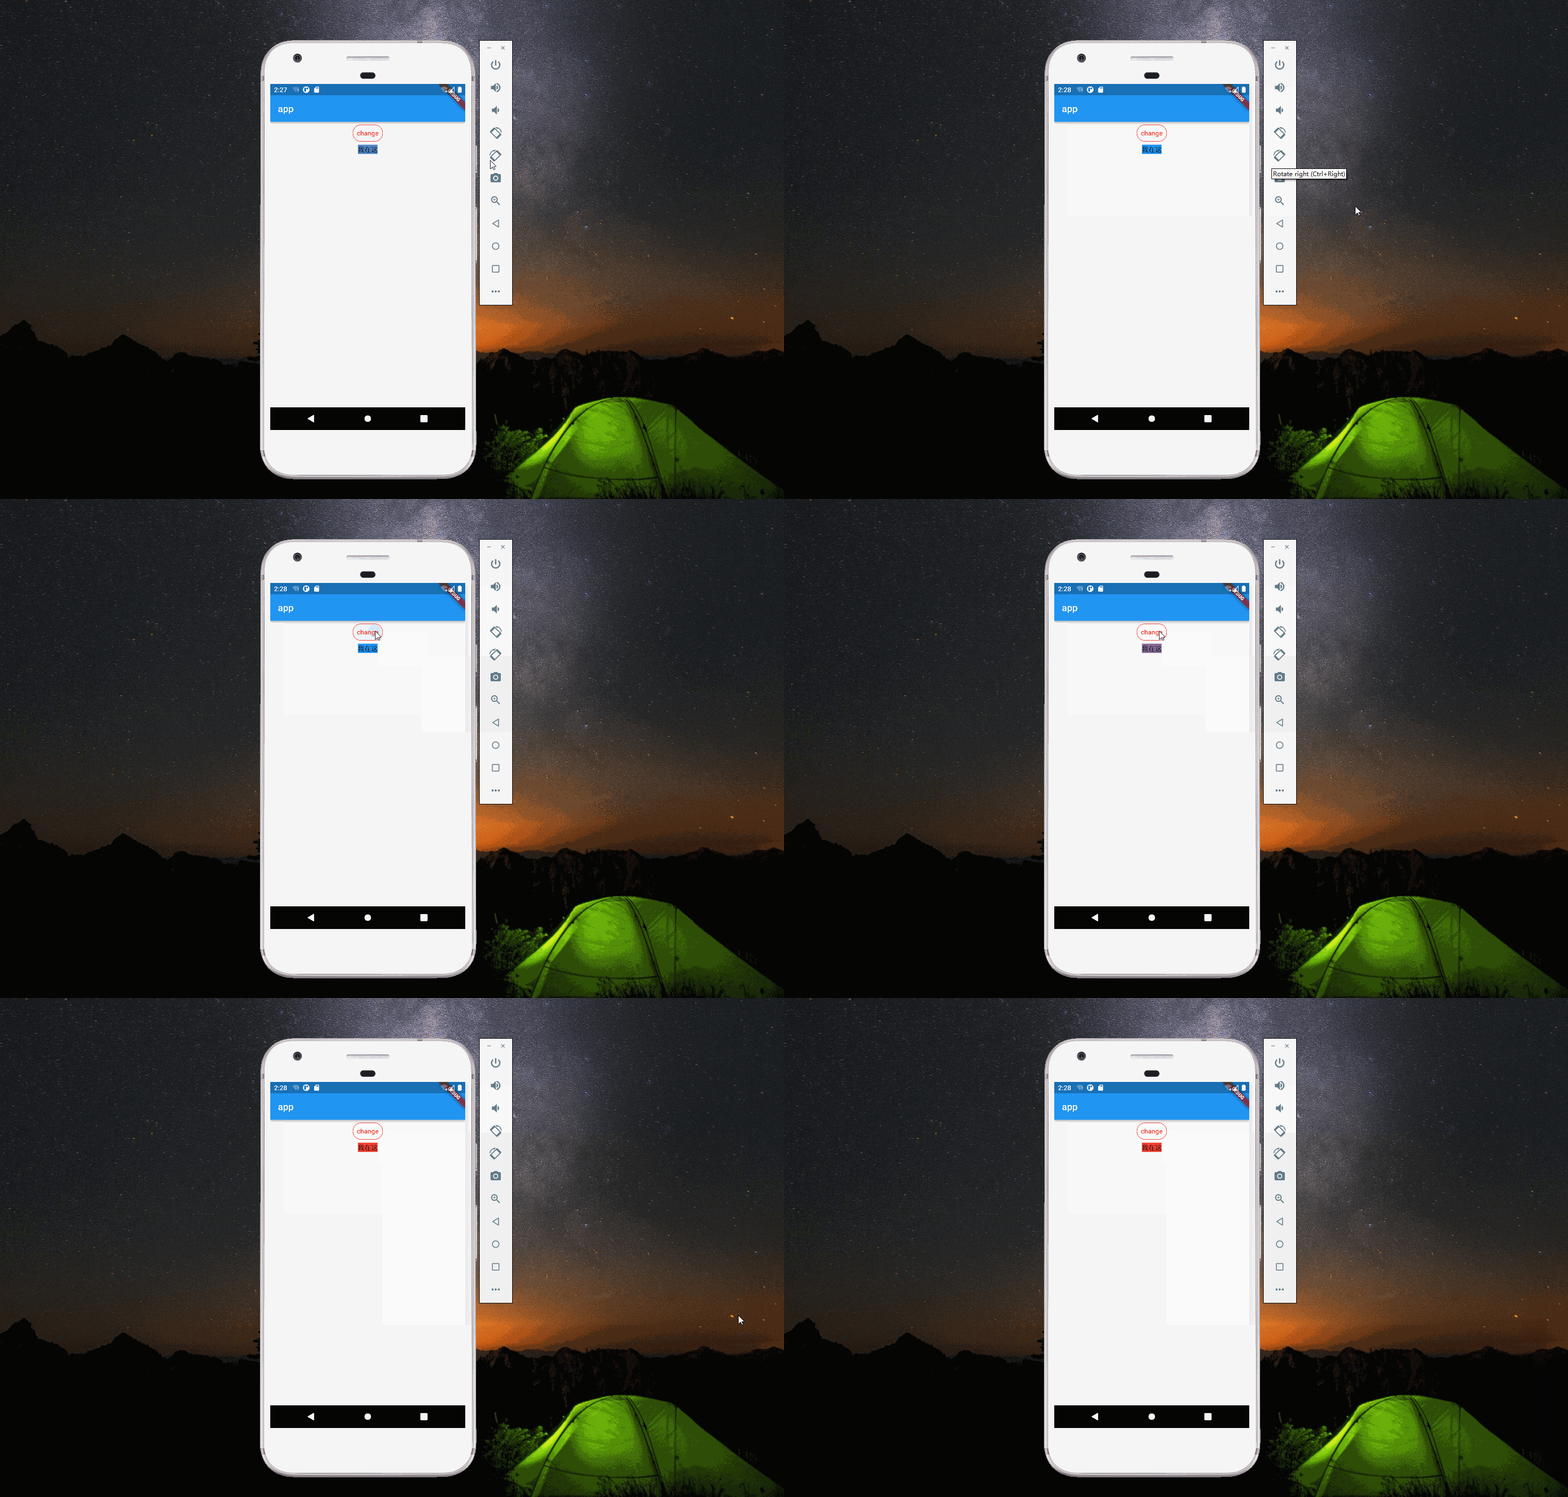
通过addListener可以注册回调函数,这样AnimationControler每次生成新值时会调用回调函数。回调函数可以用来实现 ui 渲染,这样就能得到一帧一帧的动画了。透明度变化动画用AnimationControler实现如下。
import 'package:flutter/material.dart';

void main() {
  runApp(const Main());
}

class Main extends StatelessWidget {
  const Main({Key? key}) : super(key: key);

  @override
  Widget build(BuildContext context) {
    return MaterialApp(
      title: "app",
      home: Scaffold(
        appBar: AppBar(
          title: const Text("app"),
        ),
        body: const Center(child: Fade()),
      ),
    );
  }
}

class Fade extends StatefulWidget {
  const Fade({Key? key}) : super(key: key);

  @override
  MainState createState() => MainState();
}

class MainState extends State<Fade> with SingleTickerProviderStateMixin {
  late AnimationController controller;

  @override
  void initState() {
    super.initState();
    controller = AnimationController(
        duration: const Duration(milliseconds: 2000), vsync: this)
      ..addListener(() {
        setState(() {});
      });
  }

  @override
  void dispose() {
    controller.dispose();
    super.dispose();
  }

  @override
  Widget build(BuildContext context) {
    return Column(children: <Widget>[
      TextButton(
        style: ButtonStyle(
            shape: MaterialStateProperty.all<RoundedRectangleBorder>(
                RoundedRectangleBorder(
                    borderRadius: BorderRadius.circular(18.0),
                    side: const BorderSide(color: Colors.red)))),
        onPressed: () {
          setState(() {
            if (controller.isDismissed) {
              controller.forward();
            } else if (controller.isCompleted) {
              controller.reverse();
            }
          });
        },
        child: const Text('change', style: TextStyle(color: Colors.red)),
      ),
      Opacity(
        opacity: controller.value,
        child: const Text("我在这"),
      )
    ]);
  }
}
这里需注意的点有:
controller通过addListener设置回调函数,回调函数调用setState方法重新渲染 ui。因为透明度的值为controller.value,所以每次回调时透明度都发生了变化。点击按钮时,会判断
controller的状态,如果动画已完成,则反向(即透明度从1变成0);如果动画停在开始,则执行动画。从这也可以看出这个类为什么叫controller了,有控制动画的意思。
3. Tween Object
实际上很多动画并不能用[0.0,1.0]之间的数描述,比如AnimatedContainer里背景颜色的变化。flutter 里提供了 Tween Object 来满足这类诉求。
AnimationController controller = AnimationController(
    duration: const Duration(milliseconds: 500), vsync: this);

Animation<Color?> backGround = ColorTween(begin: Colors.blue, end: Colors.red).animate(controller);
ColorTween是Tween的子类,构造函数里begin指动画开始,end指动画结束。animate方法接受一下Animation,返回一个Animation。背景颜色变换的动画用Tween实现如下:
import 'package:flutter/material.dart';

void main() {
  runApp(const Main());
}

class Main extends StatelessWidget {
  const Main({Key? key}) : super(key: key);

  @override
  Widget build(BuildContext context) {
    return MaterialApp(
      title: "app",
      home: Scaffold(
        appBar: AppBar(
          title: const Text("app"),
        ),
        body: const Center(child: Fade()),
      ),
    );
  }
}

class Fade extends StatefulWidget {
  const Fade({Key? key}) : super(key: key);

  @override
  MainState createState() => MainState();
}

class MainState extends State<Fade> with SingleTickerProviderStateMixin {
  late AnimationController controller;
  late Animation<Color?> backGround;

  @override
  void initState() {
    super.initState();
    controller = AnimationController(
        duration: const Duration(milliseconds: 2000), vsync: this);

    backGround =
        ColorTween(begin: Colors.blue, end: Colors.red).animate(controller)
          ..addListener(() {
            setState(() {});
          });
  }

  @override
  void dispose() {
    controller.dispose();
    super.dispose();
  }

  @override
  Widget build(BuildContext context) {
    return Column(children: <Widget>[
      TextButton(
        style: ButtonStyle(
            shape: MaterialStateProperty.all<RoundedRectangleBorder>(
                RoundedRectangleBorder(
                    borderRadius: BorderRadius.circular(18.0),
                    side: const BorderSide(color: Colors.red)))),
        onPressed: () {
          setState(() {
            if (controller.isDismissed) {
              controller.forward();
            } else if (controller.isCompleted) {
              controller.reverse();
            }
          });
        },
        child: const Text('change', style: TextStyle(color: Colors.red)),
      ),
      Container(
        color: backGround.value,
        child: const Text("我在这"),
      )
    ]);
  }
}

4. AnimatedWidget
前面的例子都是通过addListener和setState来实现动画的渲染,除此之外还可以使用 flutter 提供的AnimatedWidget。它的构造函数接收一个Listenable参数,当Listenable变化时,AnimatedWidget会重新绘制。
我们只需要将动画传入到AnimatedWidget里,当动画发生变化时,Widget 就自动重绘,这样就不需要手动addListener和setState了。颜色变化的例子用AnimatedWidget实现如下:
import 'package:flutter/material.dart';

void main() {
  runApp(const Main());
}

class Main extends StatelessWidget {
  const Main({Key? key}) : super(key: key);

  @override
  Widget build(BuildContext context) {
    return MaterialApp(
      title: "app",
      home: Scaffold(
        appBar: AppBar(
          title: const Text("app"),
        ),
        body: const Center(child: Fade()),
      ),
    );
  }
}

class Fade extends StatefulWidget {
  const Fade({Key? key}) : super(key: key);

  @override
  MainState createState() => MainState();
}

class MainState extends State<Fade> with SingleTickerProviderStateMixin {
  late AnimationController controller;
  late Animation<Color?> backGround;

  @override
  void initState() {
    super.initState();
    controller = AnimationController(
        duration: const Duration(milliseconds: 2000), vsync: this);

    backGround =
        ColorTween(begin: Colors.blue, end: Colors.red).animate(controller);
  }

  @override
  void dispose() {
    controller.dispose();
    super.dispose();
  }

  @override
  Widget build(BuildContext context) {
    return Column(children: <Widget>[
      TextButton(
        style: ButtonStyle(
            shape: MaterialStateProperty.all<RoundedRectangleBorder>(
                RoundedRectangleBorder(
                    borderRadius: BorderRadius.circular(18.0),
                    side: const BorderSide(color: Colors.red)))),
        onPressed: () {
          setState(() {
            if (controller.isDismissed) {
              controller.forward();
            } else if (controller.isCompleted) {
              controller.reverse();
            }
          });
        },
        child: const Text('change', style: TextStyle(color: Colors.red)),
      ),
      TextWidget(backGround: backGround)
    ]);
  }
}

class TextWidget extends AnimatedWidget {
  const TextWidget({
    Key? key,
    required this.backGround,
  }) : super(listenable: backGround);

  final Animation<Color?> backGround;

  @override
  Widget build(BuildContext context) {
    return Container(
      color: backGround.value,
      child: const Text("我在这"),
    );
  }
}
5. 设置curve
curve 是时间的函数,通过设置 curve 可以改变动画的效果。flutter 中可以使用CurveTween和CurvedAnimation来设置 curve。
5.1 CurveTween
CurveTween继承Animatable(AnimationControler继承Animation,注意两者的区别。Animatable的animate方法返回Animation)。Tween 之间可以通过chain方法进行连接,例如:
controller = AnimationController(
        duration: const Duration(milliseconds: 2000), vsync: this);

    padding = Tween<double>(begin: 0, end: 100)
        .chain(CurveTween(curve: Curves.bounceOut))
        .animate(controller);
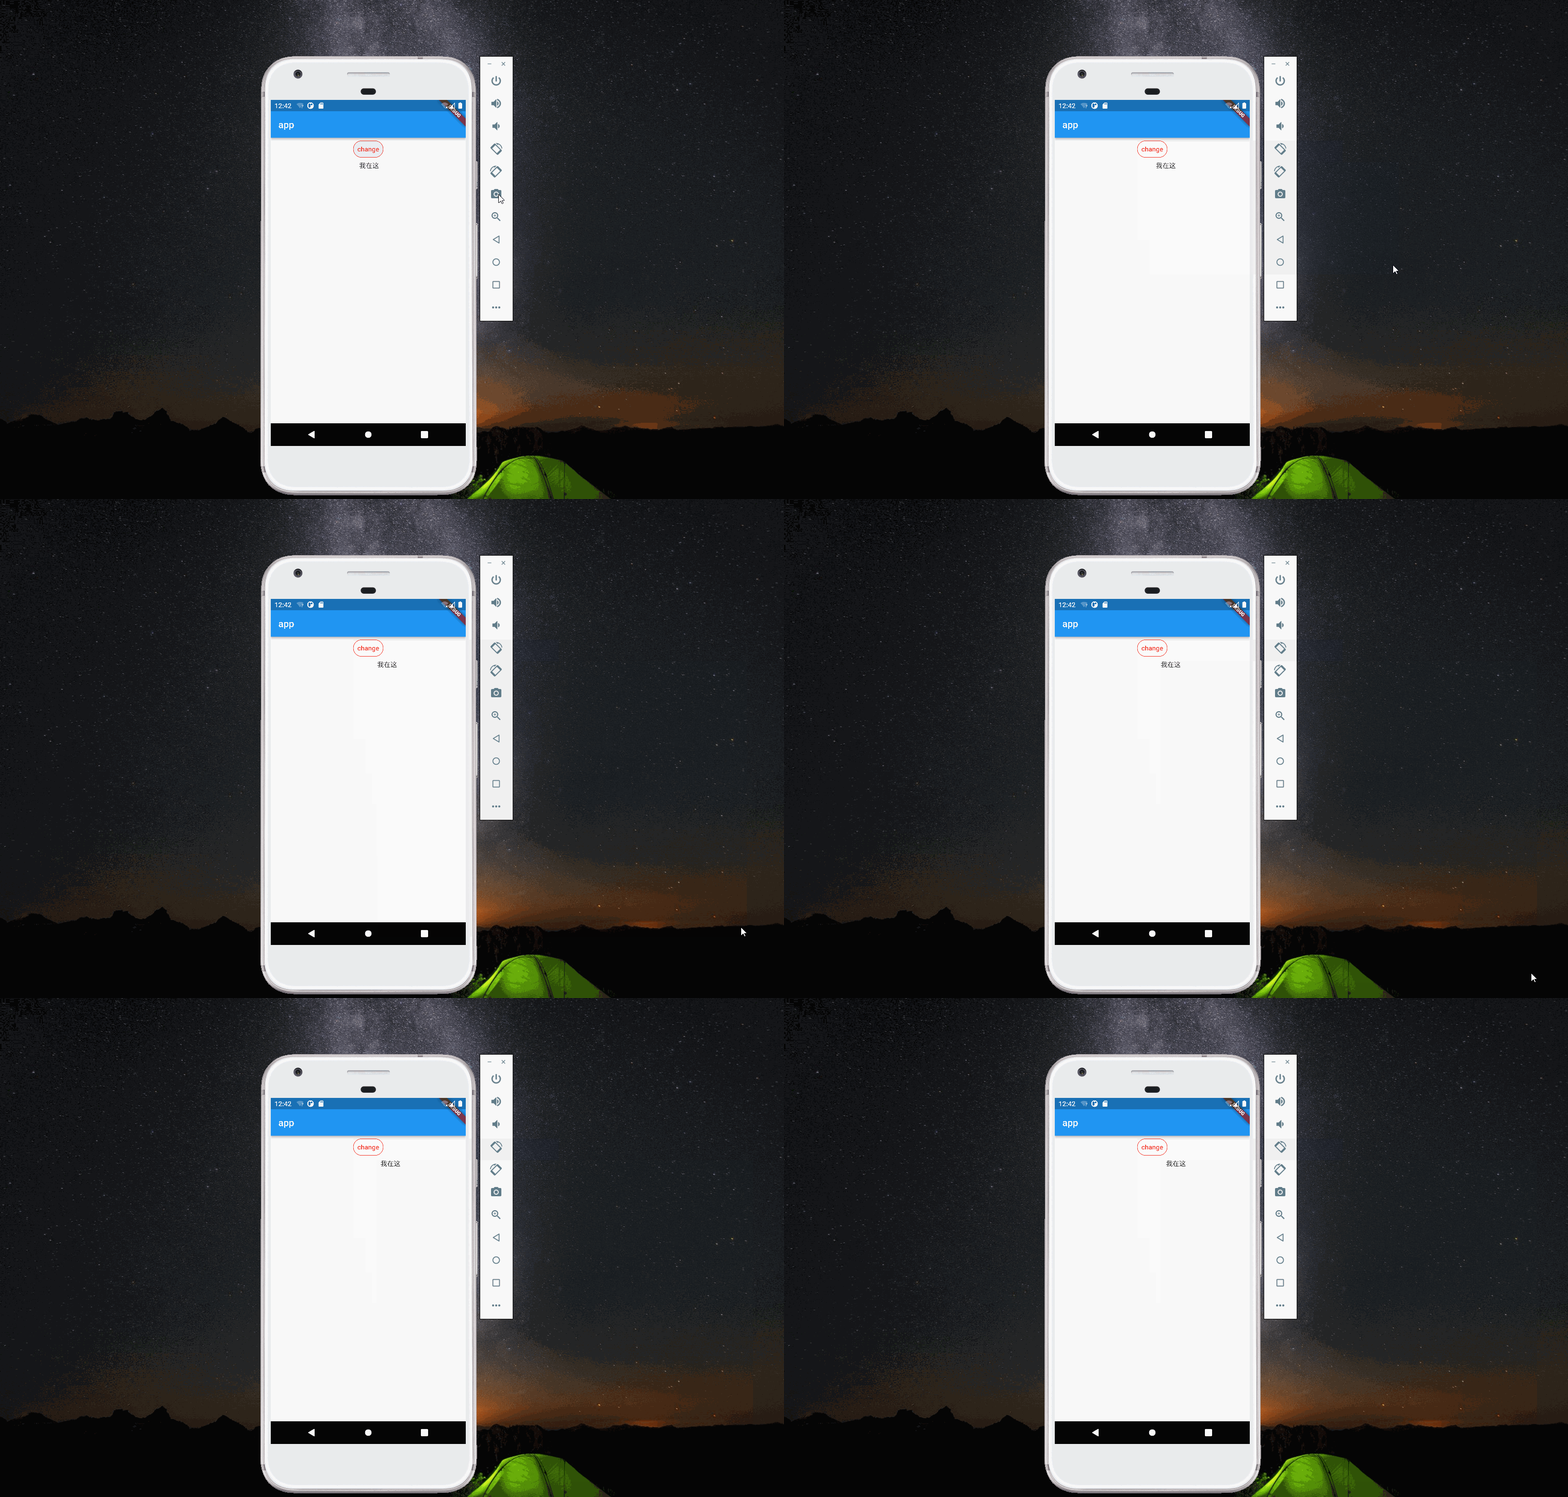
为了清楚的看到 curve 带来的变化,现将背景变化的动画改为 padding 的变化,效果如下

5.2 CurvedAnimation
CurvedAnimation继承Animation,它既可以指定 forward 的 curve,还可以指定 reverse 的 curve。
padding = Tween<double>(begin: 0, end: 100).animate(CurvedAnimation(
        parent: controller,
        curve: Curves.bounceOut,
        reverseCurve: Curves.bounceIn));